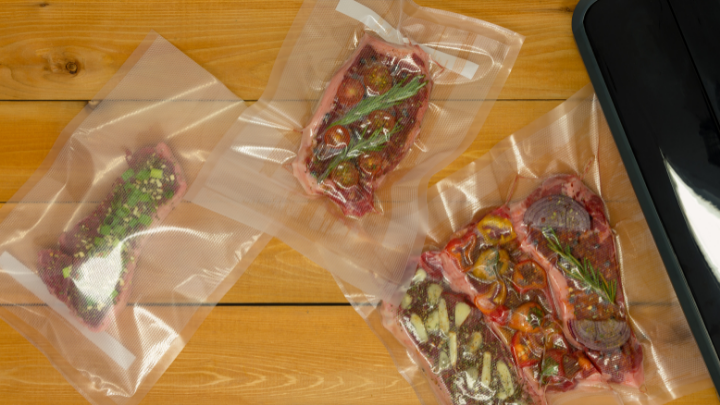
As someone who enjoys living in a modern-world society, I was looking for the best new gadget to help me seal my food to ensure that it is stored properly until I am able to eat it.
I often cook food and am unable to finish it all in one sitting, so I needed a device that could help me save my food for later while also limiting waste and saving the tastiness of every bite. Therefore, I quickly came across the raving reviews of the FoodSaver, which sounded perfect.
I’ve have a FoodSaver brand that I have used for probably 20+ years, same machine, so I would recommend it!
Started to not do a great job and all I had to do was vacuum a little bit of warm water through the tubes and it was back to
new!— Barb Kiebel (@CreativCulinary) November 20, 2021
I decided to purchase a FoodSaver and have never been happier with my food-saving process. However, I never thought about how cleaning this tool may seem a little difficult.
I did my research to make sure that I did not ruin my new product and immediately realized that others may be wondering how to clean FoodSaver as well. As a result, I decided to write this article explaining the process of cleaning this incredible tool.
My Foodsaver is really the mvp of this Thanksgiving holiday.
— Felecia Commodore (@FeleciaElana) November 28, 2021
After reading this article, you will officially know:
- The steps needed to clean a FoodSaver vacuum sealer
- How to remove the drip tray from a FoodSaver and clean it
- How to clean FoodSaver accessories
- How to properly get the fish smell out of a FoodSaver
Contents
- 1. 11 Steps on How to Clean a FoodSaver Vacuum Sealer →
- 2. How to Remove the Drip Tray from FoodSaver and Clean It →
- 3. How to Clean FoodSaver Accessories →
- 4. How to Get the Fish Smell out of a FoodSaver →
- 5. Useful Resources →
11 Steps on How to Clean a FoodSaver Vacuum Sealer
There are specific steps that I suggest following in order to ensure that you do not ruin your FoodSaver. Each of these steps are very important.
The following are the 11 steps on how to clean a FoodSaver vacuum sealer:
- Unplug the device before you start cleaning.
- Open the front of the FoodSaver by pulling it towards your body on both sides.
- Press on the gray Release Buttons and rotate the housing area away from your body.
- Place the housing area on the counter.
- Take out the Drip Tray by lifting the tabs on each side.
- Remove the Bag Detection Tray by lifting the tabs on both sides – Do not pull on the Bag Detection Tray.
- Wash all trays thoroughly with warm water and soap – You can also put them in the dishwasher on the top rack if you wish.
- Only place the trays back into the FoodSaver once they have fully dried off.
- Make sure that the Drip Tray is completely fastened in on its left side.
- Make sure that the Foam Gasket is also fully placed into the gasket channel area.
- Lastly, it is important to double check that the Upper Bag Detection Tray is fully inserted inside the device, or it will not work properly the next time you use it.
If you would like to see an up-close look at a FoodSaver to decide if it is perfect for you, check out Mary’s Happy Belly’s YouTube video. In the video, she unboxes the device as well as tests out its functions. I guarantee that you will be impressed after seeing this neat gadget in action.
How to Remove the Drip Tray from FoodSaver and Clean It
It is very crucial that you remember to empty the Drip Tray after every single use. You should also remove the Drip Tray and clean it as often as you can.
It is an easy and simple process. All you have to do is lift the tabs on both of its sides and pull the tray towards you. Then, you can wash it in warm water and soap or place it in the dishwasher if you have one. Make sure you dry it off before placing it back into the FoodSaver.
If you need to see a visualization of how to remove the drip tray, watch FoodSaver’s YouTube video below. This video gives you a quick 12-second look at how the drip tray is properly removed and placed in a dishwasher for cleaning. I hope this helps!
While cooking or cleaning appliances in the kitchen, has the question ever crossed your mind of how many amps does a gas stove use? If so, you are not alone. I have wondered this question from time to time and decided to conduct research and write an article covering this important question. To learn more about this, head over to my other article.
How to Clean FoodSaver Accessories
There are several accessories that come with the FoodSaver as well as some that you can purchase to go with it. You will eventually want to clean those as well. Therefore, my advice is to clean the accessories the same way that you would clean the FoodSaver.
If you are unsure if anything can go in a dishwasher, I recommend handwashing to be safe. Take everything apart and make sure there is no food leftover in any compartments. Wash with warm, soapy water and make sure that all accessories are 100 percent dry and back in place before you begin using them again.
If you still find yourself wondering if a FoodSaver is for you, take a look at Diego and Hollie Ortiz’s YouTube video. Throughout the video, Diego gives his personal opinion on the FoodSaver and lets you know if he thinks it is worth it. This video is a great watch because he points out a few things that you most likely have not thought about when deciding to purchase this unique item, such as saving money.
Let’s talk about the fish smell coming from your FoodSaver next.
How to Get the Fish Smell out of a FoodSaver
Sometimes, liquid may get sucked into the pump of your FoodSaver appliance and cause a foul smell. This is a common issue that can be fixed quickly.
I recommend placing two tablespoons of warm water and a few drops of vinegar into a vacuum bag. The vinegar will help with the smell immediately. Place the vacuum sealer somewhere that it is OK for water to run out, such as on a towel or in a sink. Put the bag inside the trough, close the lid, and start it up. This will cause the water to go into the machine.
We knocked the shit out of them.., 2 days of ling and rocks fish limits.. 45 pounds of filets. The @FoodSaver working OT pic.twitter.com/1QUgEVljtD
— ScottyDogJenkins (@scottydog57) September 2, 2019
After a few minutes, you will see that the water is now on the towel or in the sink area as it has begun running out. This is a normal part of the process. Take out the bag and run the device a couple more times without the bag. This will give the machine more time to circulate the water throughout the device and ensure that the smell has vanished.
If you are looking for a type of food to begin testing out your new FoodSaver, French toast may the perfect option. I personally love French toast and sometimes cook too much, which means I have a lot left over. If this happens to you often and you would like to learn more about storing this food, check out my other article on this topic by clicking here.
Useful Resources
Conclusion
A FoodSaver is a wonderful tool that I am sure has brought a lot of convenience and ease to your life. Before or after buying one, it is important to understand the process of cleaning it. Therefore, I hope this article helped you learn how to clean FoodSaver.
Follow me:
- Lava Rocks Vs. Fire Glass – What Is Better for a Fire Pit? - November 15, 2023
- How to Light a Propane/Gas Fire Pit with a Manual or Electronic Ignition System - November 8, 2023
- How Long Does a Propane Tank Last for a Fire Pit - October 9, 2023